Epson Xp 440 Scanner Busy Try Again Later
Epson scanners are very popular in the scanning industry and have made way to millions of homes and corporate offices around the world. Epson scanners may either be standalone or may be integrated with a printer facility. They are known for their robustness and their ability to scan articulate documents and images.
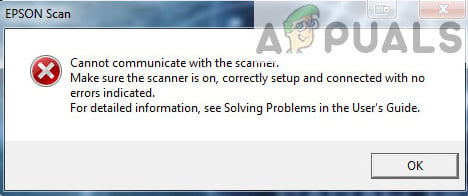
There has been an arising problem with Epson scanners where the scanner application fails to scan for whatsoever documents. This problem can be traced back to a number of different reasons ranging from problems in the scanner drivers to incorrect configuration of the network.
Note: This commodity is meant for all operating systems (Windows x, eight, and 7). Information technology likewise includes workarounds when afterward updating to Windows ten, the scanner fails to work.
Solution 1: Running Scanner Software with Administrative Privileges
The offset and foremost thing you lot should try is running the scanning awarding with administrative privileges. Many applications that require input from an external source crave you lot to grant them authoritative privileges and so they tin perform all of their operations without any interference or security checks. You lot should alter the application'south settings and allow authoritative access.
- Correct-click on Epson Scan and select "Properties".
- Once in properties, select the "Compatibility" tab and check 'Run this plan equally an administrator'. You can also run the awarding in compatibility style subsequently on if only ambassador privileges don't solve the problem.
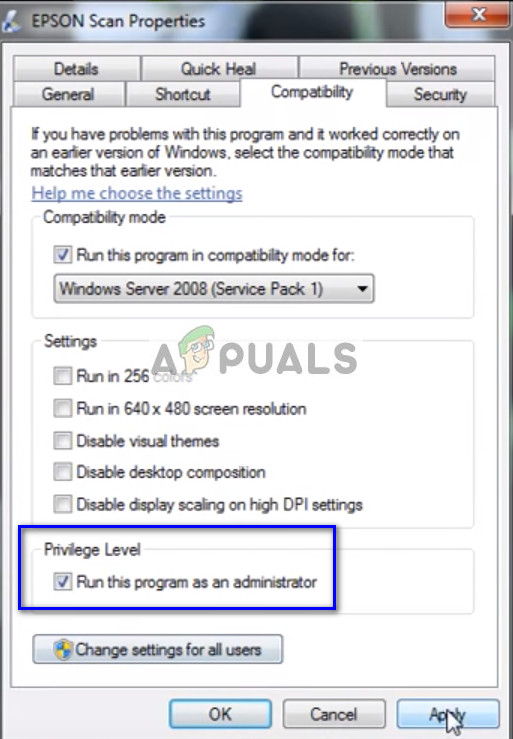
- Press Apply to relieve changes and exit. Now ability off your scanner facility and remove the USB cable/disconnect from the network. After a few minutes, prepare upwardly the scanner again and encounter if you can scan successfully.
Note:Your account should have admin powers to execute this method. Make sure to brand your account an admin before trying this out.
Solution two: Fixing Wireless Connectedness
In numerous cases, the Epson browse awarding fails to acquaintance the scanner with the network LAN accost automatically. This issue arises if you lot are connecting to the scanner using a Wireless Network. While y'all can still search for addresses automatically within the awarding, it fails to do almost of the time. To counter this issue, we can manually add the address past fetching it from the command prompt and make your scanner working again in no time.
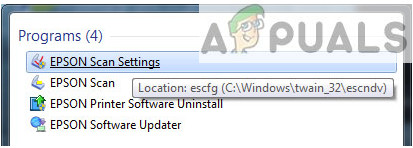
- Launch Epson Scan Settings. You can either open the application from a shortcut or search for information technology using Windows search.
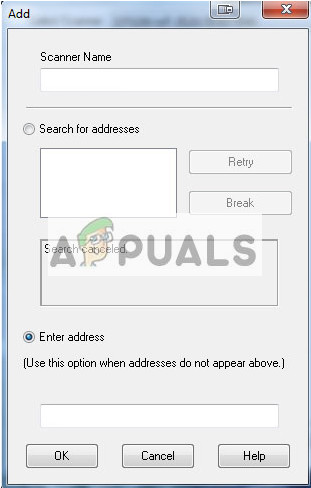
- Once in Scan Settings, click on Add underneath Network Scanner Accost. Make sure that you lot are selecting the correct scanner using the option at the top of the window.

- Now you will be greeted with a screen like this. Now we volition navigate to the control prompt, fetch the correct address and insert it in the Enter address
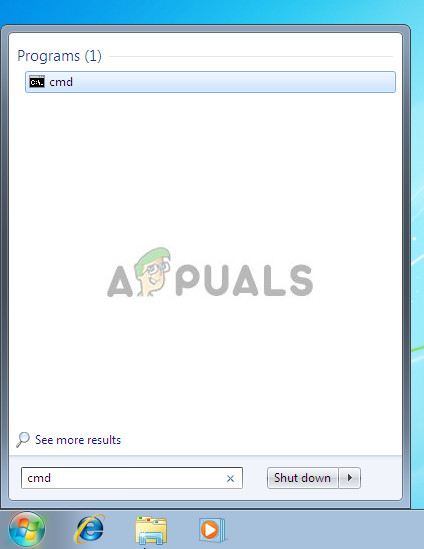
- Click the Windows icon, blazon "cmd" in the dialogue box and open the awarding.
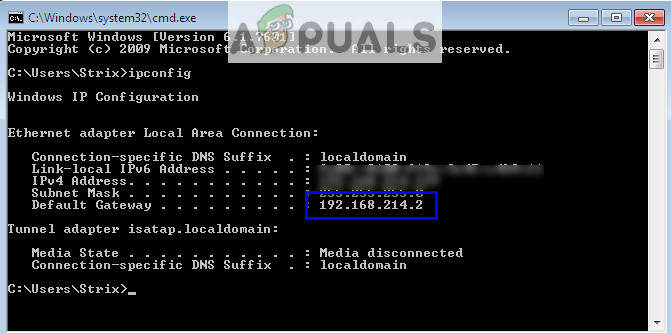
- Type in the command "ipconfig" in the command prompt and printing Enter. One time in the control prompt, copy the field "Default Gateway".
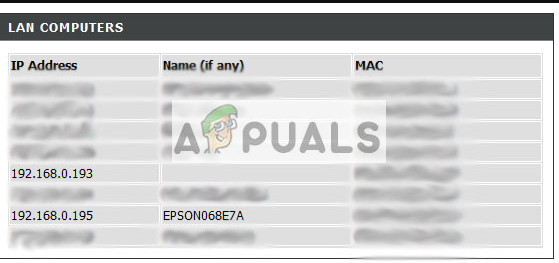
- Now enter this default gateway in your browser and access your router. Your router'due south administrative interface may differ from other routers. One time you are logged into your router, check the list of attached devices to the network.
As you can see, the IP Address of the scanner is "192.168.0.195" in this example. You tin can enter this accost in your browser and if successful, y'all will be able to open the scanner'southward properties.
- Now head dorsum to the Scanner awarding, enter the accost of the scanner and press Apply. If successful, your scanner volition exist successfully added and you will be able to employ the browse utility without any issues.
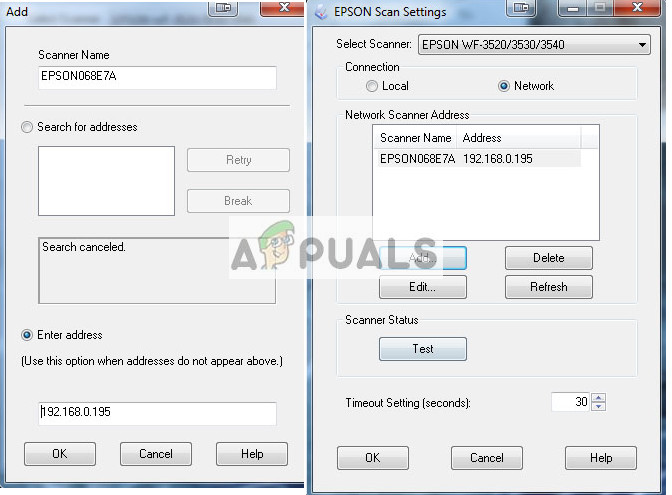
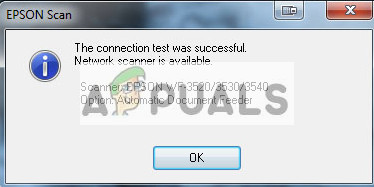
- You can also press the "Test" button and see if the connexion is successful.
Solution 3: Using Shorter USB Cables
Although many tech manufacturers claims their devices tin exist connected using very long USB cables, simply a few of them alive up to their spoken words. In a nutshell, the more you prolong a USB cable for the connection between scanner and reckoner, the more than signal losses will occur.
With this beingness said, if yous are using the scanner on the other side of the room, you lot should fetch some other USB cable which is ofshorter length and try connecting the scanner. Relocate it closer to your temporarily and check if this workaround works. If it does, it means there was the loss of signals and it was causing the computer non beingness able to communicate.
Solution iv: Restarting Shell Hardware Detection
The Shell Hardware Detection service monitors and provides notifications for Autoplay hardware events. This service is used every bit the main tool for detecting when other hardware is plugged into your system. This service is responsible for detecting scanners, printers, removable storage devices, etc. If there is a problem with this service, your computer might non detect the scanner. We can try restarting this service and reconnect the scanner and encounter how this goes.
- Printing Windows + R, type "services. msc" in the dialogue box and press Enter.
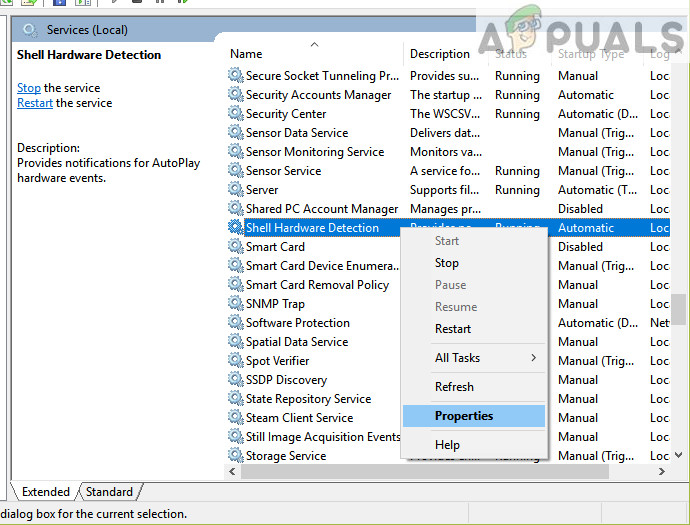
- Search for the service "Beat out Hardware Detection". Right-click on it and select "Properties".
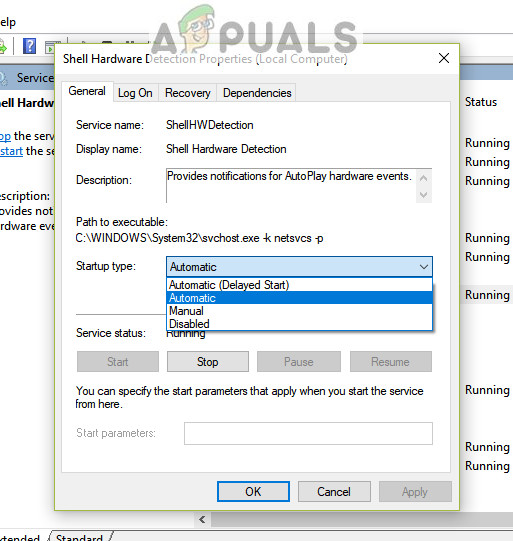
- Make certain that the startup type is set to "Automatic". Now close the window, correct-click on the service one time over again and select "Restart".
- Now unplug/disconnect your scanner with your estimator. Wait for a couple of minutes before plugging it dorsum in. If Beat Hardware Detection was the problem, your calculator should recognize the scanner immediately.
- Also, try restarting the Windows Image Acquisition Service in the same manner.
Solution 5: Turning off Password Protected Sharing
Password protected sharing is a security machinery that ensures that the sharing of files and folders over the network is safety. If information technology is turned on, people on your network will not be able to access the files on your calculator unless they enter the password provided past you manually. There were frequent cases reported where this very mechanism was causing problems for the scanner to connect. We tin disable this machinery, reconnect the scanner and see how it goes. Y'all always revert back the changes if things don't get our way. We will also check if Printer Discovery is turned on.
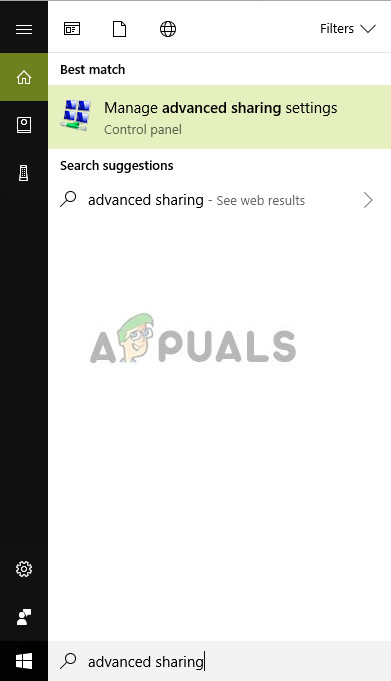
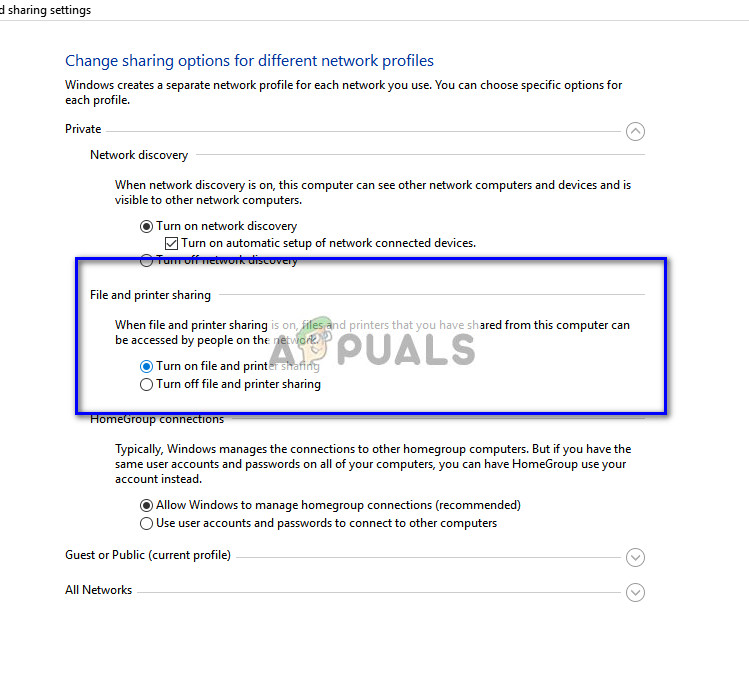
- Press Windows + S, type "advanced sharing" in the dialogue box and open the application.
- Click on Private and check the option Plough on file and printer sharing. Practise the same for Invitee or Public network.
- Now printing All Networks and disable password protected sharing by checking 'Turn off password protected sharing'.
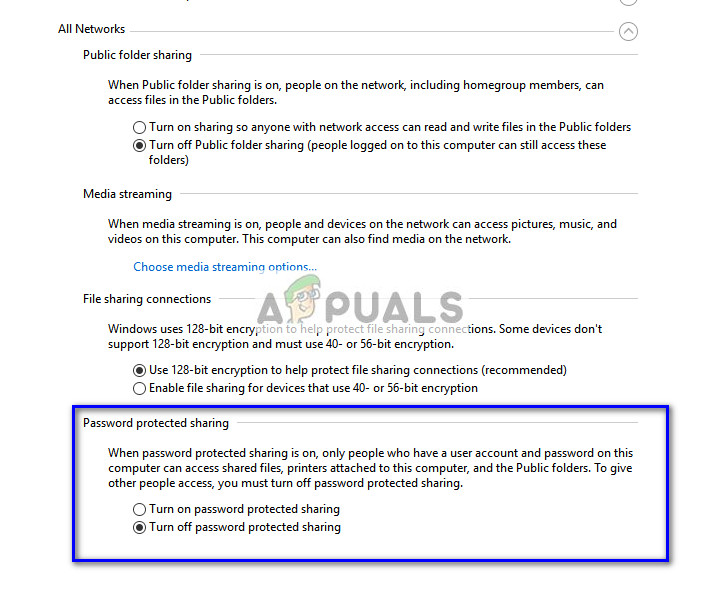
- Click on Save Changes present at the bottom of your screen. Now unplug/disconnect your scanner with your computer. Await for a couple of minutes before plugging it back in. At present check if you lot can use the scanner utility without whatever problems.
Solution 6: Changing from LPT1 to USB 001 Virtual Printer Port
Line Print Terminals belong to the rather old engineering science of connecting printers and scanners to your calculator. Present, most of the printers have transitioned from LPT to USB. We can try changing the ports of the printer and see if this makes whatsoever difference. This result was specially known to piece of work for users who lost the functionality of the scanner after migrating to Windows 10.
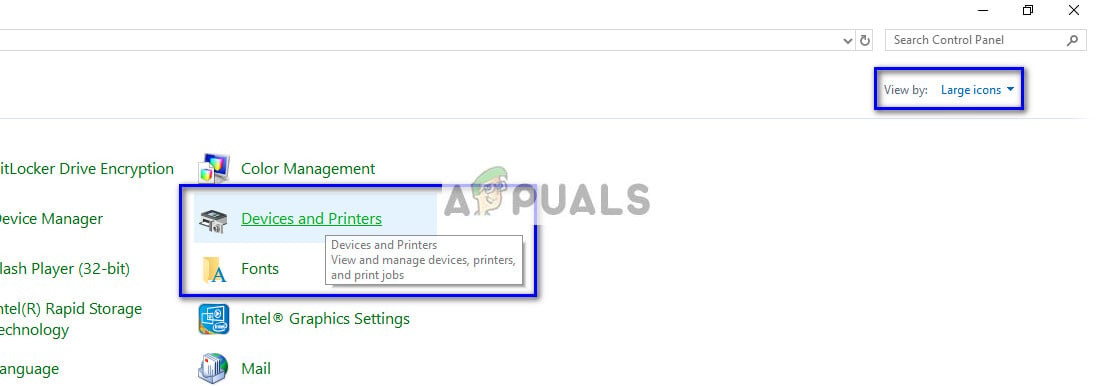
- Printing Windows + R, blazon "control panel" in the dialogue box and press Enter.
- Once in the command panel, click on the pick "Large icons" present at the top-right side of the screen and select "Device and printers".
- Right-click on the Printer and select "Properties".
- Now click on "Ports" and modify the ports from "LPT1" to "USB 001".
- Now unplug/disconnect your scanner with your computer. Wait for a couple of minutes before plugging it back in. At present check if you lot can utilise the scanner utility without whatever problems.
Solution 7: Resetting Windows Image Acquisition (WIA)
Another workaround which nosotros can try before updating the drivers of the scanner is resetting Windows Image Acquisition service. This service is related to capturing the images when you scan using your computer. It is an application programming interface (API) that enables graphics software to communicate with imaging hardware such as scanners.
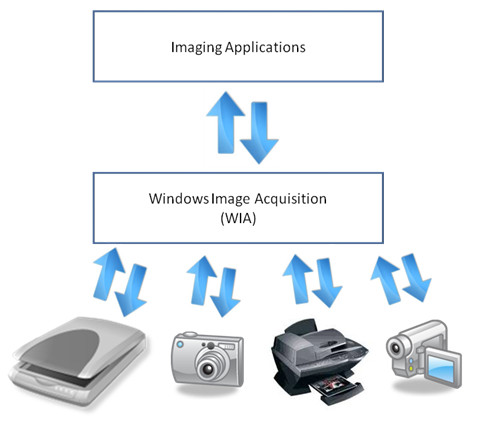
This process is a core part of fetching the required scanner document into your calculator. Resetting this service can prepare any problems if it was at fault.
- Press Windows + R, type "services. msc" in the dialogue box and press Enter.
- Once in services, navigate through all the entries until you find "Windows Image Acquisition". Right-click on the service and select "Restart".
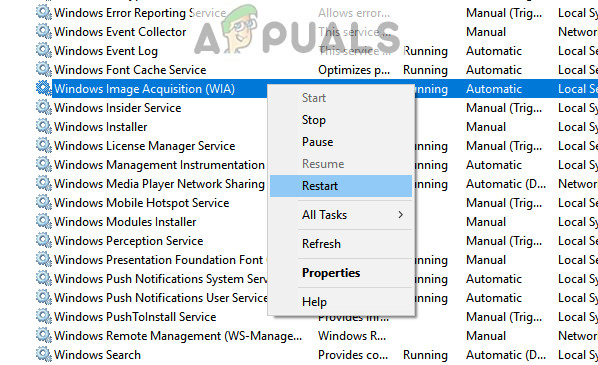
- Now unplug/disconnect your scanner with your computer. Wait for a couple of minutes before plugging it back in. Now check if you can use the scanner utility without any problems
Yous can as well try stopping the service and starting it later on on manually if resetting doesn't work.
Solution 8: Updating Scanner Drivers
If all the above solutions don't work, we can attempt updating the scanner drivers. Yous should navigate to the manufacturer's website and download the latest scanner drivers available. Make sure to download the exact drivers meant for your printer. You can look for the model number present on the front end of your printer or in its box.
Annotation: There are a few cases where a newer driver doesn't work. In that case, download an older version of the driver and install it using the same method described beneath.
- Press Windows + R to launch the Run Blazon "devmgmt.msc" in the dialogue box and hit Enter. This will launch your computer's device manager.
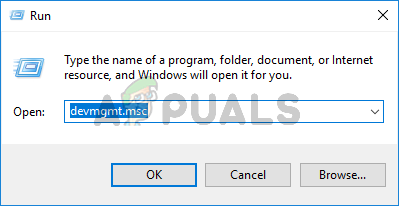
Type devmgmt.msc and Printing Enter to Open Device Manager - Navigate through all the hardware, open the sub-card "Imaging devices", right-click on your scanner hardware and select "Update driver".
Note: If your scanner is inbuilt with your printer, you should update the drivers of your printer using the same method explained beneath. In that case, you should look in the category of 'Print Queues'.
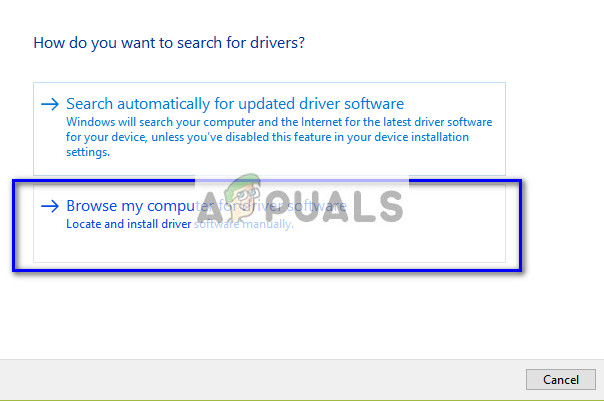
- Now Windows will pop a dialogue box asking y'all which style do y'all want to update your driver. Select the second option (Scan my computer for driver software) and keep.
Select the driver file you downloaded using the scan button when it appears and update it accordingly.
- Restart your computer and check if the problem gets resolved.
Annotation: If updating the drivers don't piece of work, you should exit all the scanner applications and uninstall them accordingly. At present become back to the device manager and uninstall the scanner/printer by right-clicking it and selecting "Uninstall". Once uninstalled, unplug the scanner and download the latest drivers from the website and install them after you plug the hardware again.
Tips:
- Effort disabling your antivirus software (you can apply Windows Defender temporarily).
- Uninstall Epson Scan, open Windows Explorer and navigate to "C:\Windows". Locate "twain_32" and rename it for instance "twain_old". Restart your computer and reinstall Epson Scan.
- Check if in that location are any restrictions on the network which are causing the printer to not connect. Also, add the " C:\WINDOWS\twain_32\escndv\escndv.exe" to Windows Defender, Firewall and Antivirus exceptions.
- Make sure that correct network configurations are entered in the scanner hardware if y'all are connecting a network.
- Ensure that the USB ports are working perfectly on your computer where you are plugging the hardware.
![]()
Source: https://appuals.com/fix-epson-scan-cannot-communicate-with-the-scanner/
0 Response to "Epson Xp 440 Scanner Busy Try Again Later"
Post a Comment